
Thursday, January 30, 2014
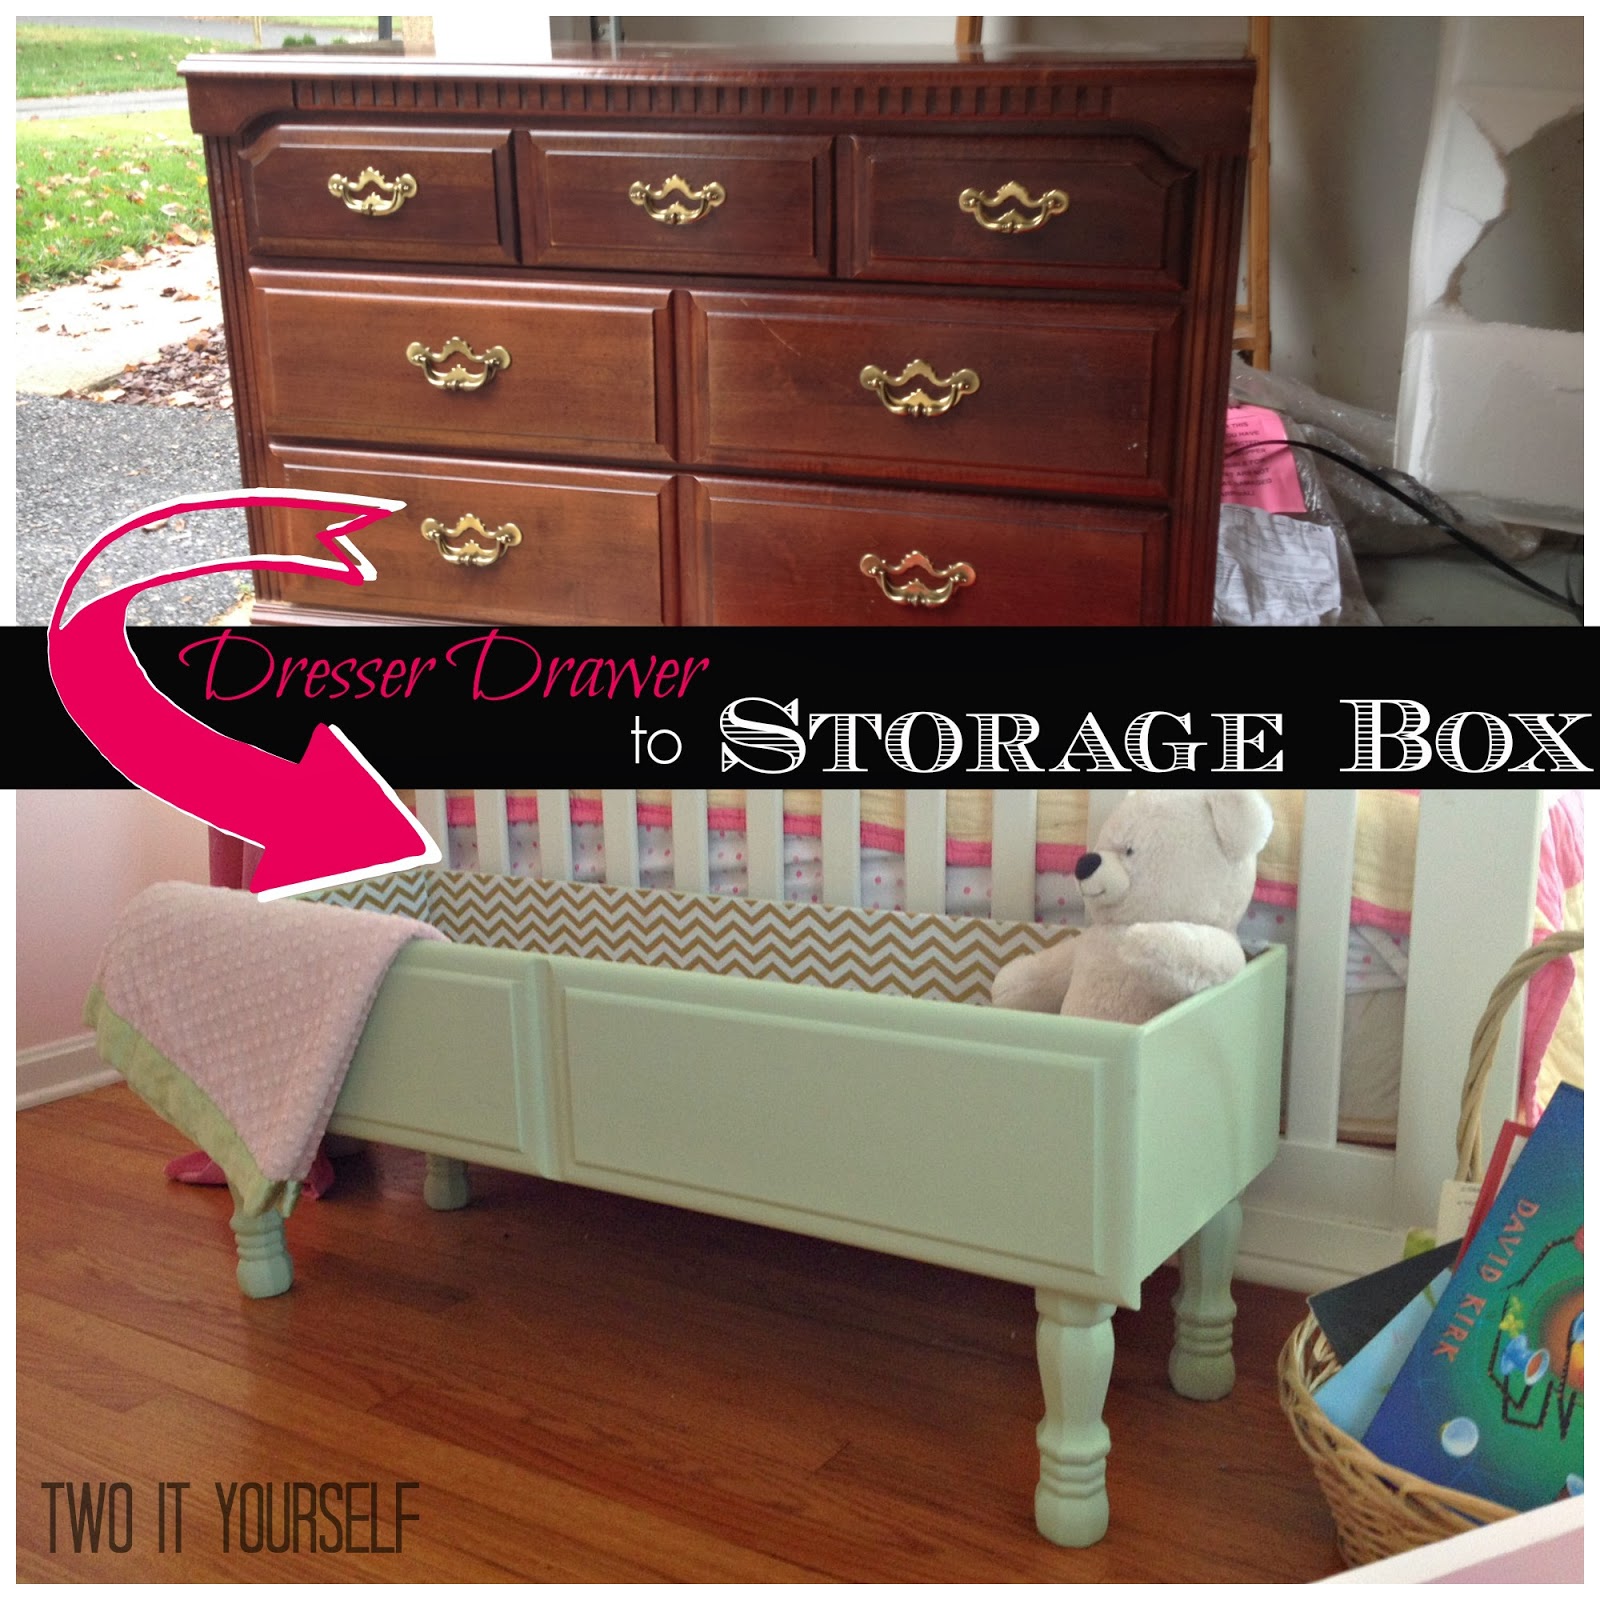
Dresser Drawer to Storage Box {Easy DIY Project}
Wednesday, January 29, 2014
Thrifted Vintage Glass Jars to Canisters with DIY Labels

Tuesday, January 28, 2014
Repurposed louvered door and full length mirror

Monday, January 27, 2014
20 Pottery Barn Knockoff DIY Projects

Here's a roundup of 20 awesome Pottery Barn knockoffs. Click the description above each picture to be taken straight to the DIY tutorial.
Sunday, January 26, 2014
Link It or Lump It Link party #23 {Plus Features}
.jpg)
Well, I survived the week (barely)...the snow, the never-ending snow days, and the polar vortex nearly leveled me...but I'm back with the 23rd edition of the Link It or Lump It link party. Whew! Every week more and more of you are linking up which means this party is getting better and better. Plus this week we're super excited because we have our very first guest co-host! Meet Brittany the blogger behind Confessions of a Secret Crafter.

Brittany shares a little about herself with us and all of you...While I am relatively inexperienced with blogging, my love for writing, crafting, and sharing my interests has compelled me to develop Confessions of a Secret Crafter: A College Girl’s Guide to Crafting on a Budget. Here, I’ll share my ideas for student-friendly projects that are based on current fashion, art, television, and all things glittery. I hope to inspire you to love crafting, and to provide the tools necessary for you to live life fashionably while on a modest budget.
Before we get to our features here's a look at what yours truly has been up to this week....

Alright, moving on to some features...
Friday, January 24, 2014
No Sew Valentine's Day Burlap and Felt Banner
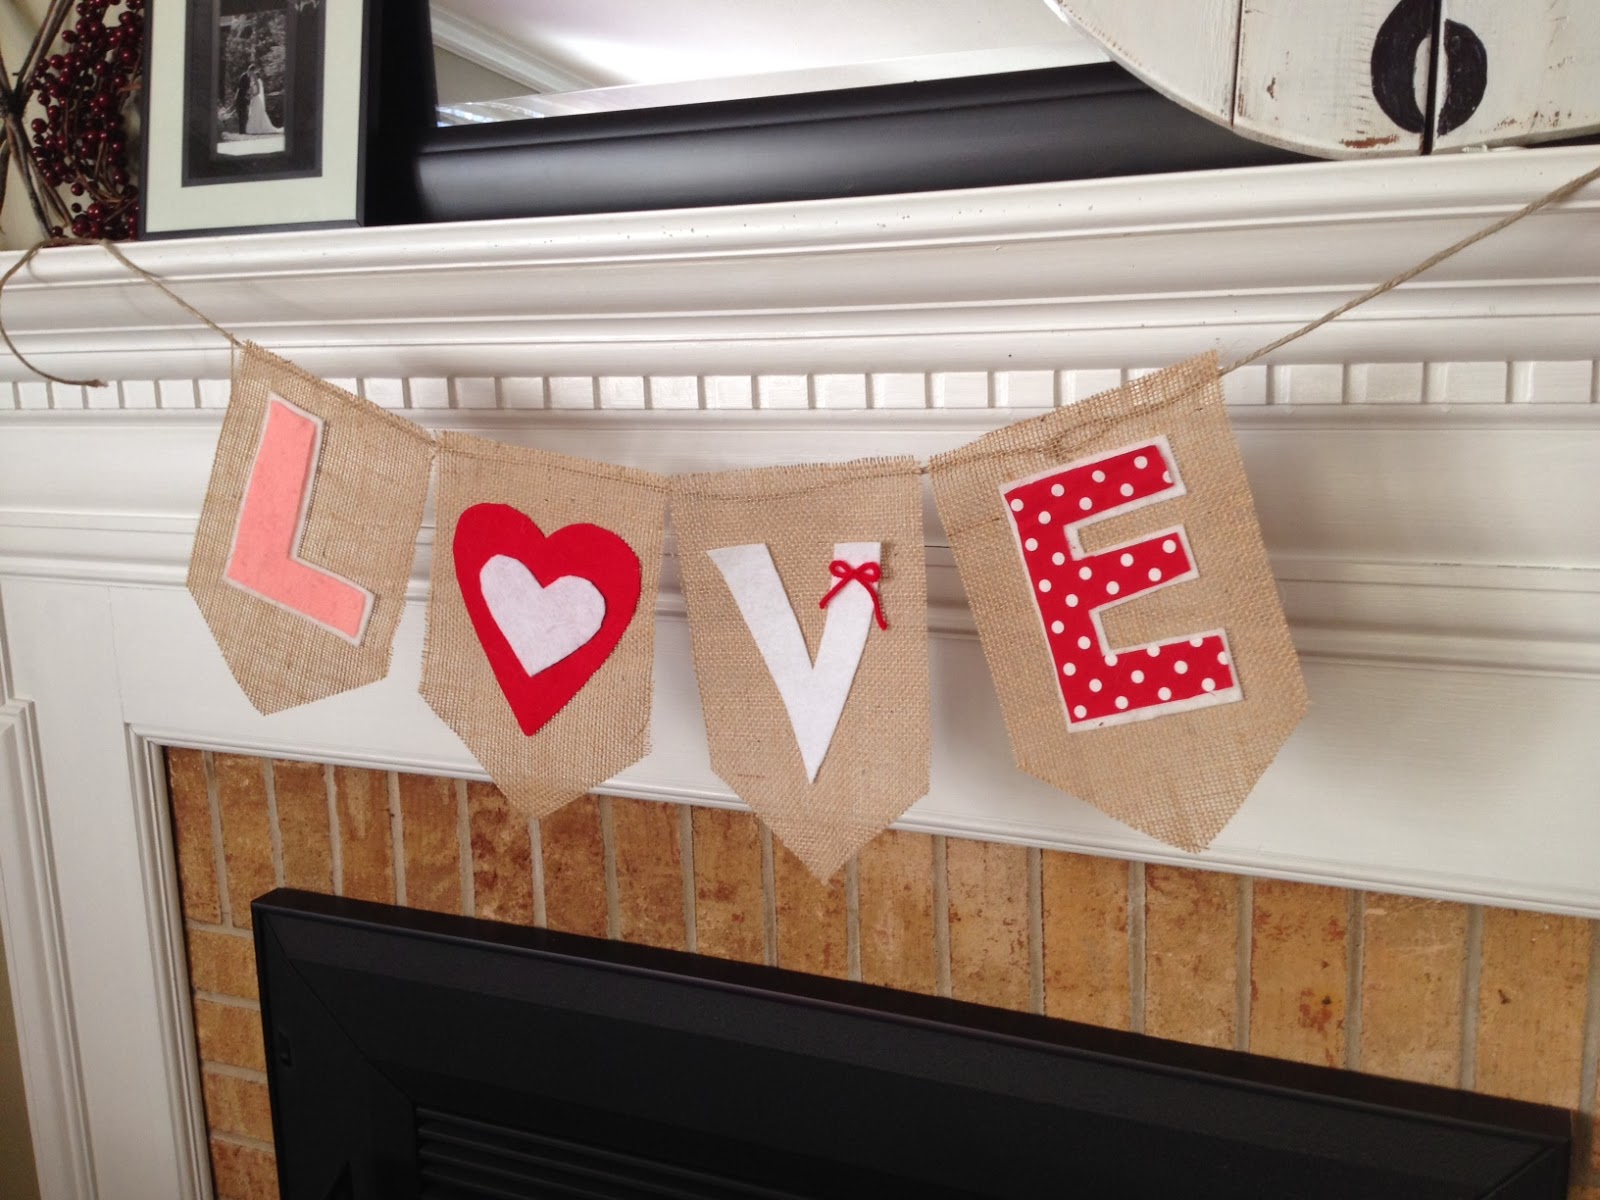 In case you haven't noticed I love banners. Recently I've been making flag banners for every season and using them to decorate my mantel. Apparently, I'm not the only one who loves bunting because I sell a decent amount of them through my Etsy shop. Today, however, there's no need to buy - you can make this one yourself in just a few minutes.
You'll need:
Burlap
Felt in a few different colors
Scrap material (optional)
Jute rope
Spray adhesive
Hot glue gun
Start by cutting out your first burlap flag. You can make them any size you want. However large you make them, use the first flag as a guide for the next three.
Thursday, January 23, 2014
Dollar Store Valentine's Day Table Runner
 My dining room table is looking festive for Valentine's Day, but my kitchen table
 I attached them with a line of hot glue and they make an instant table runner. If your table is longer or shorter you can obviously add more hearts or use fewer. There's not much better than a 1 minute, $4 craft...
Thanks for stopping by 2IY! If you like what you see, we'd love for you to pin it!


Wednesday, January 22, 2014
American Girl Doll Valentine's Day GIVEAWAY ($525 Value)

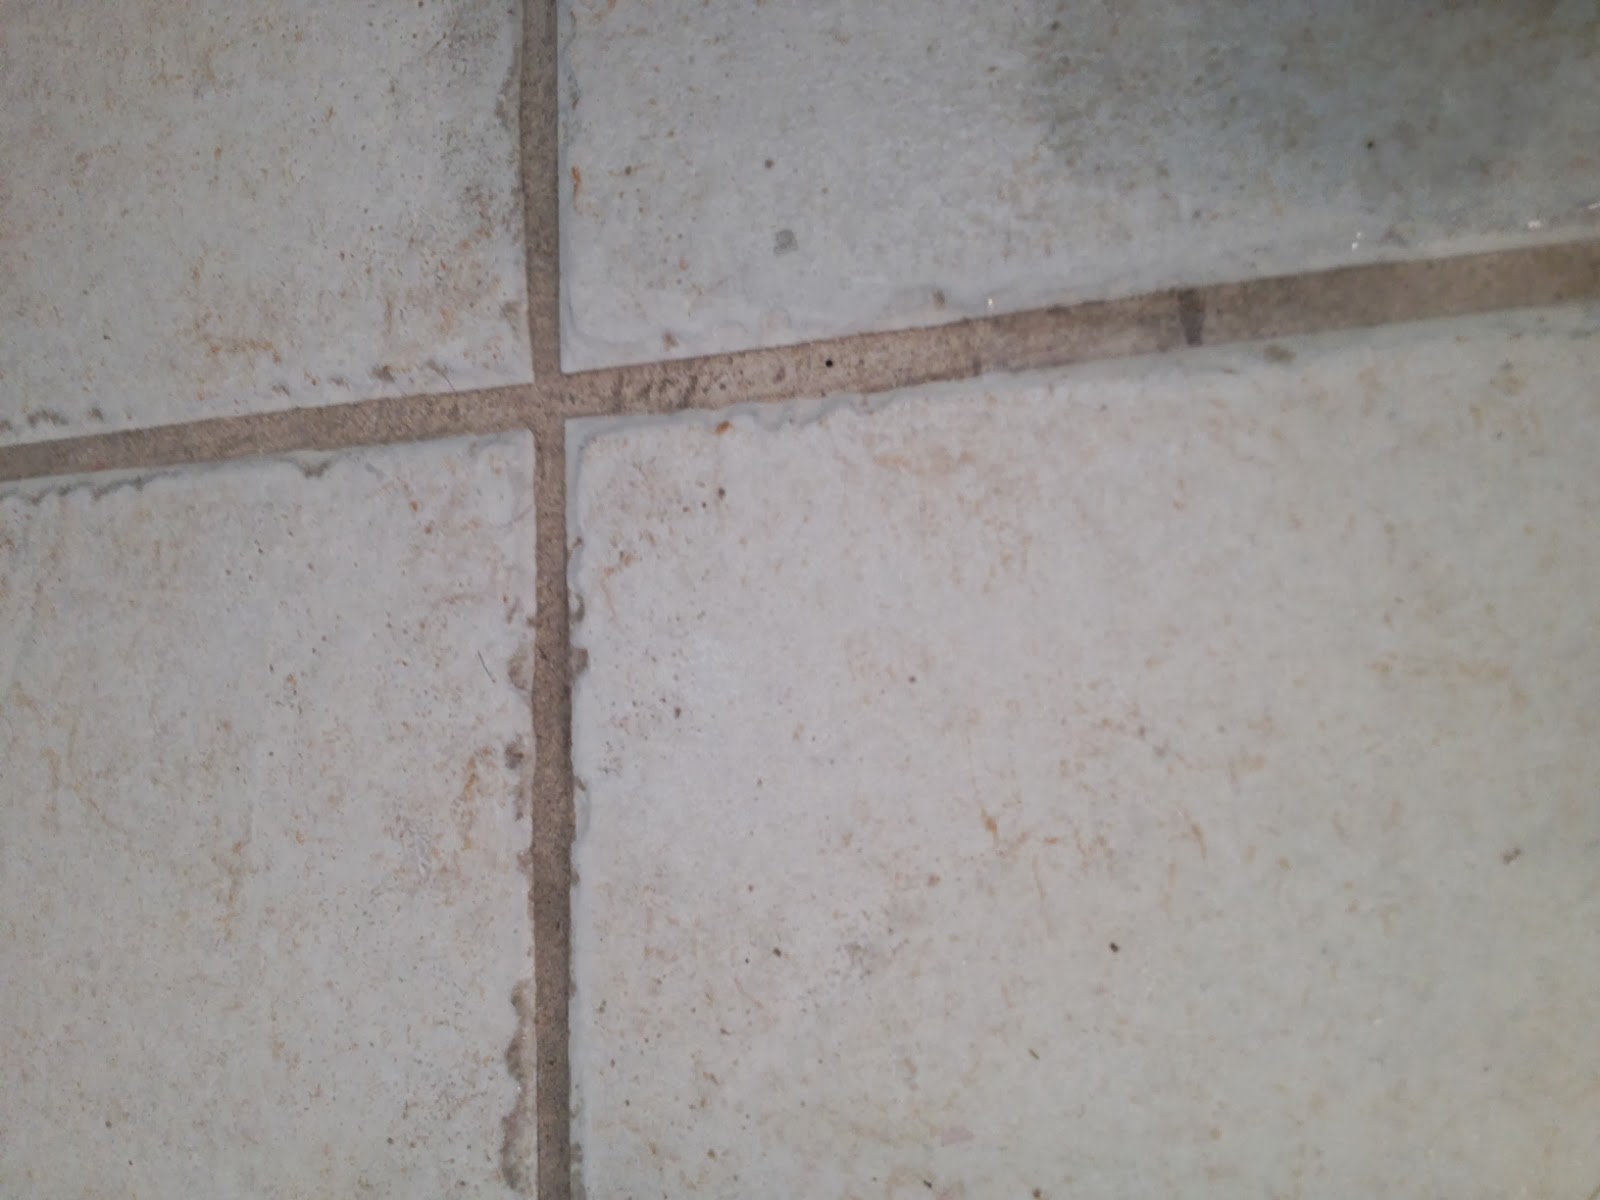
How to Clean Tile Floor Grout {Without Chemicals}

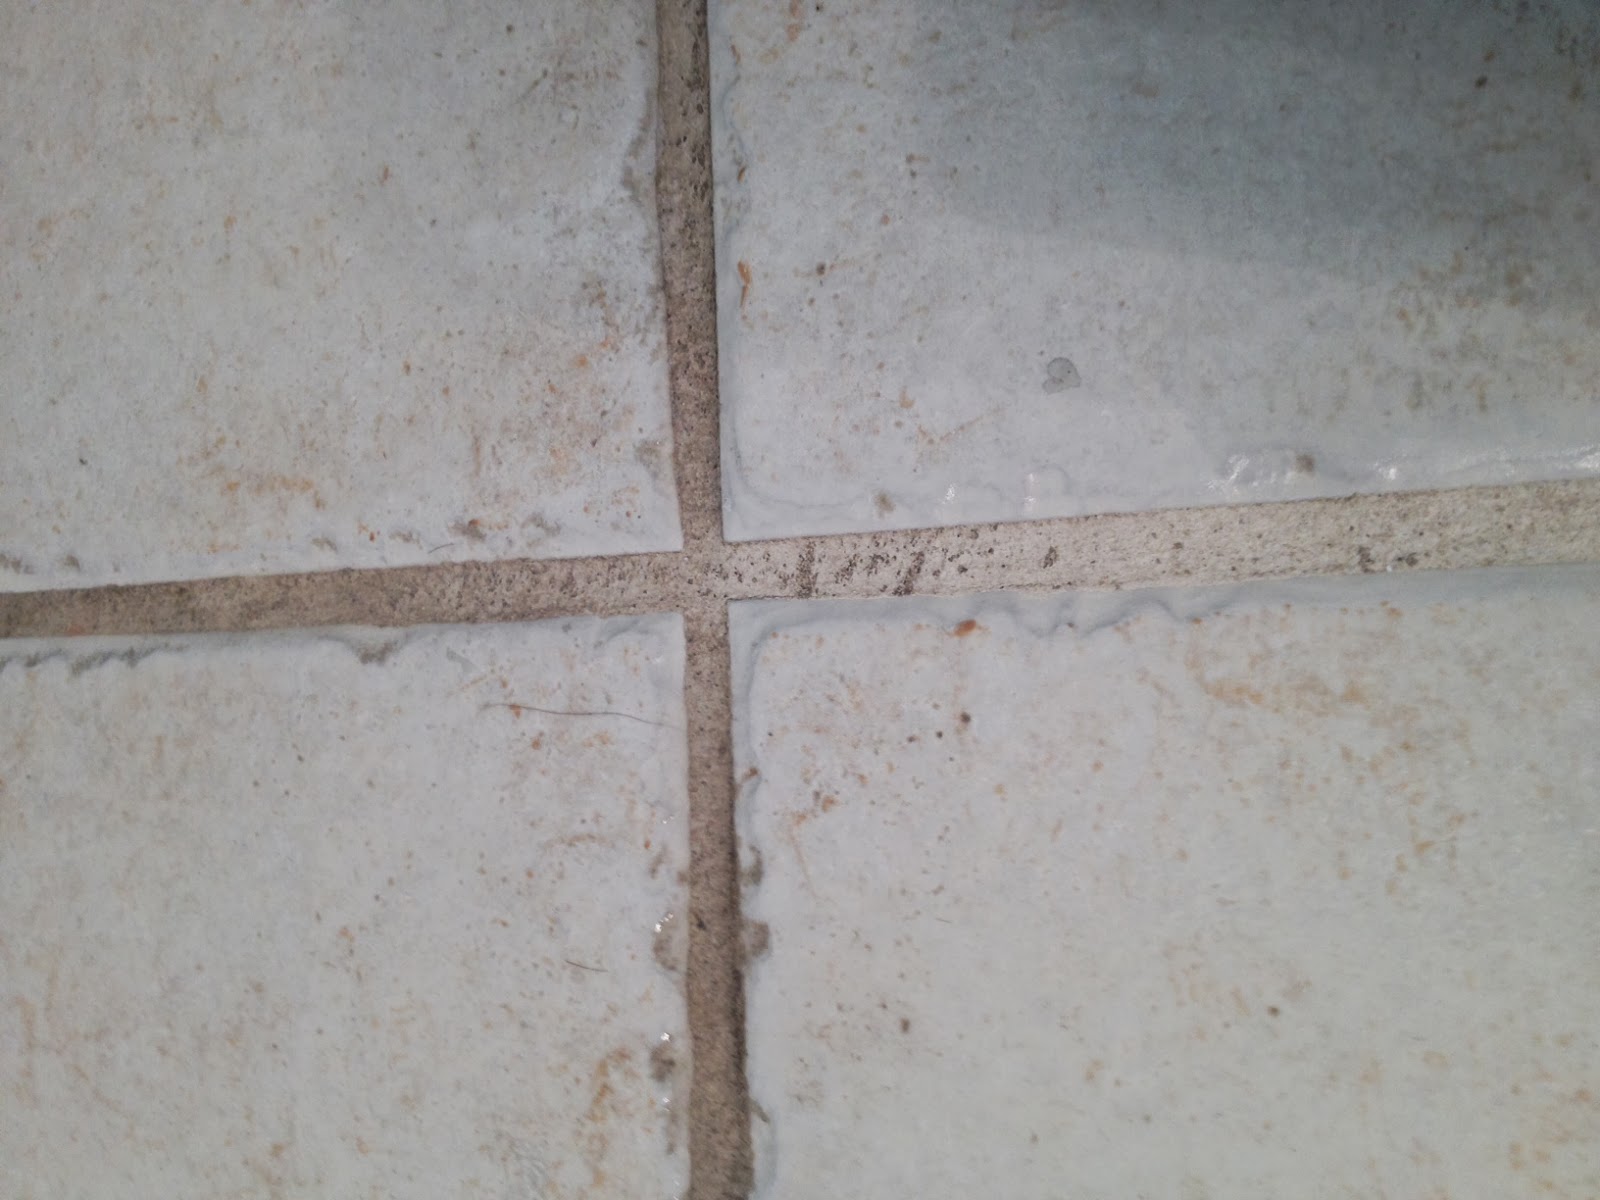
So I set out to clean the old grout to make it look new again. Just look at this...ew! I'm slightly embarrassed to even be sharing this with you...but ya know.
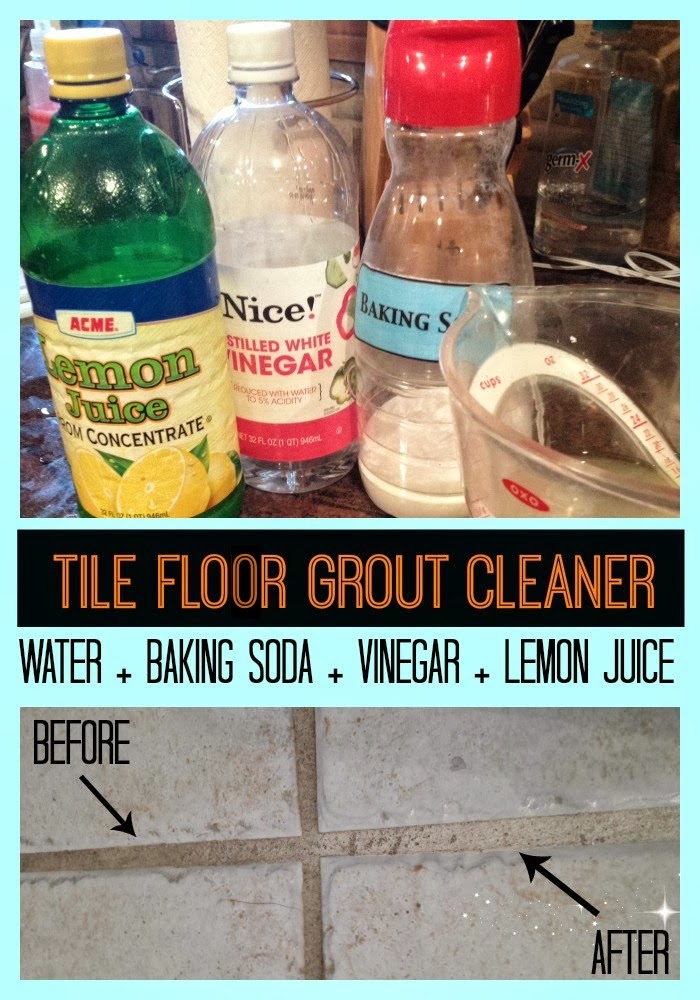
Cleaning tile floor grout is actually as easy as a trip to your pantry closet - and I don't mean reaching for the chemicals and bleach. I am not necessarily anti-chemicals - I use them for plenty of jobs - but why spend an hour inhaling fumes when you don't have to? Instead all you need is lemon juice, water, baking soda, and vinegar.
The ratio I used was:
3.5 Cups of Hot Water + 1/2 Cup of Baking Soda + (half of )1/3 Cup Vinegar + 1/3 Cup of Lemon Juice.
So you're probably wondering why I wrote half a 1/3 cup of vinegar...the answer is it's easier than saying .16666. Just fill a 1/3 measuring up half way... You can obviously adjust the amounts to fit the job, but with these measurements I had plenty to clean my bathroom tile floor and plenty left over for the next time.
Okay, so once you have your tile floor grout cleaner concoction mixed, pour it into a spray bottle. Spritz it on the grout and let it sit on there for a few minutes before you start scrubbing.

Now is where the elbow grease comes in - take a tooth brush and start scrubbing....or do what I did and take a chance on one of these handy dandy electronic grout brush cleaners and save your arm. This Rubbermaid Reveal Power Scrubber Brush was on clearance on Target. The price was originally $15.99, but I snagged it for less than $8.
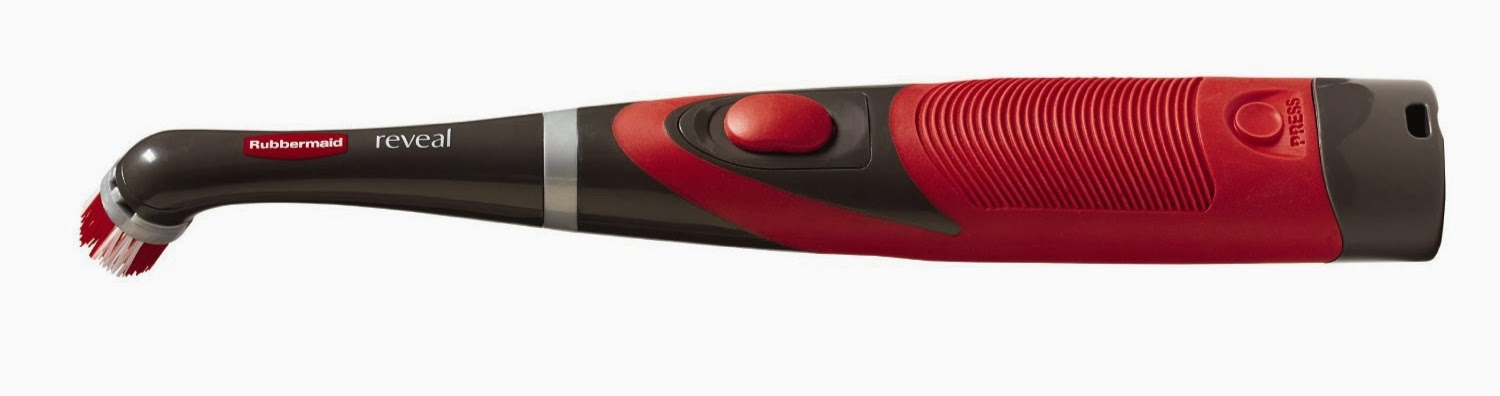
Let me tell you - I would have paid $30 knowing know how easy it made the job. I used the toothbrush method on the tile walls of my shower where the grout lines are really thin and that was a tough job. Doing the same method on the much thicker grout lines on the floor would have required a lot of effort. Anyway - get scrubbing.

This video gives you a really good look at how I cleaned the floor (with one hand and played videographer with the other) and just how quickly it went with the brush. You can see the difference between the cleaned area of the grout and the 'before' after just a few
After I scrubbed all the grout lines I let my floor steamer sit on small sections of the grout for a few minutes at a time, then scrubbed a little more just to make them shine. This part is definitely not necessary. And just as an FYI all the pictures in this post were taken before I used the steamer so you could see the result just using the solution and scrubbing.
Here's a great side by side of a cleaned area and an area where I had not yet cleaned the grout. What a difference!
Thanks for stopping by 2IY! If you like what you see, we'd love for you to pin it!
Tuesday, January 21, 2014
Valentine's Day Burlap Banner Giveaway WINNERS

Theresa Kern
AND Amanda Schauer
If you didn't win, don't worry - we now have the Valentine's Day burlap 'Be Mine' banners in our Etsy shop.
Thanks for stopping by 2IY! If you like what you see, we'd love for you to pin it!
{More} Tips to Empty a Yankee Candle Jar (Pt 2)

The one suggestion I heard over and over again was to stick the Yankee Candle Jar - with the last bit of wax - in the freezer for a few hours and the wax would easily pop out in one chunk. Well, why didn't anyone tell me? Here I am cutting the wax into pie pieces with a knife to remove it.
So I tried the popular freezer method and here's my take - it definitely worked, but...yes, there's a but. After about 3 hours in the freezer, the wax at the bottom of the jar was easily able to pop off the bottom of the candle jar in one piece with a little nudge of a butter knife. The problem is many Yankee Candle jars are larger at the bottom than they are at the top. So while the wax pops off the bottom easily in one chunk it can't fit through the smaller opening at the top. I ended up breaking the wax up anyway. My feeling is it's six of one half dozen of the other - unless you have a jar that's the same diameter top to bottom then go with the freezer method.
Several readers suggested putting the nearly empty Yankee Candle jar in the microwave to melt the remaining wax so it can simply be poured out. I do not suggest this. The bottom of the wick is attached to a small metal piece that I don't believe would be safe in the microwave.
Monday, January 20, 2014
DIY Valentine's Day Twig Centerpiece
 Looking to make a cute DIY Valentine's Day centerpiece for your kitchen or dining room table? You've come to the right spot. I created this easy and very budget-friendly centerpiece in just a few minutes and - or should I say 'even' - with the help of my 2 and 5 year olds. The great thing about this piece is you can shop your house (and your yard) and spend no money at all. I love projects like that!
What you'll need:
-Small flower pot, vase (not clear glass) or bowl.
-A few Branches
-Floral foam or styrofoam (or balled up newspaper)
-Covering such as tissue paper, burlap, greenery, or shredded paper
-Valentine's Day-colored or themed scrapbook paper
-Ribbon, twine, or string
I collected twigs from the yard with my two year old son. We looked for small branches that had some 'Ys' formed on them so we could use them to hang our decorations. I used about four of the branches selecting twigs that were generally the same size.
Put the floral foam or styrofoam into the pot or vase. If you are using the newspaper method ball it up really tight and press the sticks as far into the paper as possible so they stay standing.
Sunday, January 19, 2014
Link It or Lump It Link Party #22 {Plus Features}
Before we get to our features we have a little bloggy business to take care of... first up, have you seen what we're up to lately on 2IY?? Including the launch of our brand spankin' new sister site - Silhouette School!

Also, tomorrow - Monday - is the LAST day to enter to win this burlap 'Be Mine' Valentine's Day banner.
Saturday, January 18, 2014
American Girl Valentine's Day Giveaway Event

I made a set of matching girl/doll Valentine's Day envelope purses...and can I tell you how difficult it was for me to keep these away from my daughter and her doll? Apparently, I'll be making another set...

The purses were inspired by Pottery Barn Kids' adorable chair backers.

Other bloggers have donated beautifully handmade dresses, outfits, hair accessories, bags, shoes and more. Here's a look at some the items that the winner will receive in the prize package now valued at over $500!


The Valentines Day American Girl Giveaway Event begins in just four days on Wednesday, January 22 and runs through Feb 2, 2014.
Thanks for stopping by 2IY! If you like what you see, we'd love for you to pin it!
Subscribe to:
Posts (Atom)